In today's digital age, capturing the perfect photo is just the first step. Ensuring that your images are crisp and clear can make all the difference, whether you're a professional photographer or a hobbyist. This guide will walk you through various image sharpener techniques to help elevate your photos from good to great. With a focus on simplicity and effectiveness, these methods are designed to enhance your images without overwhelming the details.
Why Image Sharpening Matters
Image sharpening is an essential aspect of photo editing. It helps highlight the finer details in your images, making them more vibrant and visually appealing. When applied correctly, sharpening techniques can transform a dull photo into a masterpiece. But why is it so crucial? Simply put, sharper images capture the viewer's attention and convey a sense of professionalism. Whether you're printing photos for a portfolio or sharing them online, sharpened images stand out.
The Basics of Image Sharpening
Before we explore advanced techniques, it's vital to understand the basics. Image sharpening works by increasing the contrast along the edges within an image. This creates a visual illusion of clarity and detail. Most photo editing software offers basic sharpening tools, allowing users to adjust the intensity and radius of sharpening. Understanding these settings is key to achieving the desired effect without overdoing it and introducing noise.
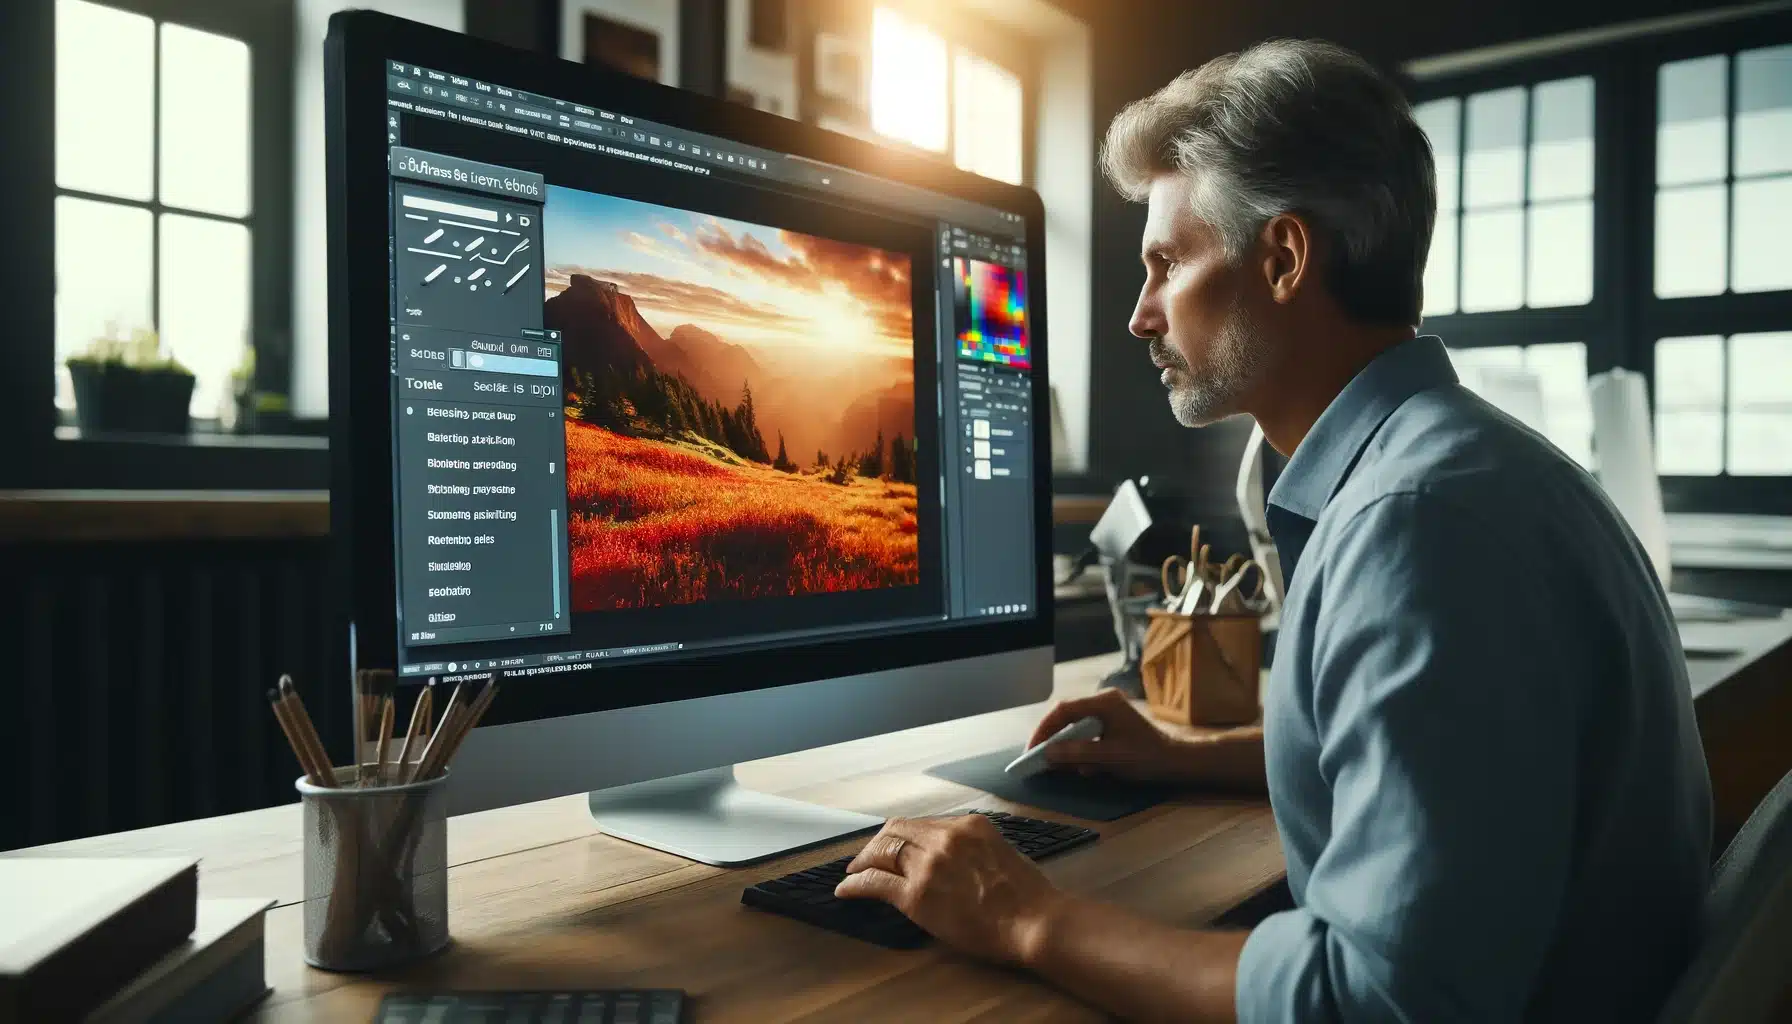
Choosing the Right Software
Selecting the right software can greatly impact your sharpening results. Popular programs like Adobe Photoshop and Lightroom offer powerful tools tailored for image enhancement. These platforms provide advanced controls, allowing photographers to fine-tune their sharpening process. However, for beginners, simpler options like GIMP or even mobile apps can be just as effective. The choice of software often depends on your level of expertise and specific needs.
Understanding Unsharp Mask
One of the most commonly used sharpening techniques is the Unsharp Mask. Despite its misleading name, this tool is designed to create sharper images. It works by highlighting the edges in a photo, enhancing the contrast between neighboring pixels. This method is favored for its precision and flexibility, allowing users to control the strength, radius, and threshold of sharpening. Mastering the Unsharp Mask can significantly improve the clarity of your images.
Exploring High Pass Filtering
High Pass Filtering is another popular method for sharpening images. This technique involves creating a separate high-pass layer that isolates the image's finer details. By blending this layer with the original image, you can enhance sharpness without affecting the overall tone. High Pass Filtering is particularly useful for portraits, as it maintains the natural texture of skin while enhancing features like eyes and hair.
Edge Enhancement Techniques
Edge enhancement focuses on sharpening the outlines within an image, making them more defined. This method is ideal for landscapes and architectural photography, where clean lines and edges are crucial. By using tools like the Smart Sharpen in Photoshop, photographers can selectively target edges, ensuring that the overall image remains balanced. Edge enhancement can bring out details that might otherwise go unnoticed.
Avoiding Over-Sharpening Pitfalls
While sharpening is beneficial, it's easy to go overboard and degrade the image quality. Over-sharpening can lead to unwanted artifacts, such as halos and noise, which can distract from the photo's beauty. To prevent this, it's important to apply sharpening gradually and review the image at different zoom levels. This ensures that the enhancements are subtle and maintain the image's integrity.
Utilizing Layer Masks
Layer masks offer a non-destructive way to apply sharpening selectively. By using masks, photographers can sharpen specific areas of an image without affecting the rest. This technique is particularly useful when working with complex images that require different levels of sharpening. By painting on the mask, you can control which parts of the image are sharpened, providing greater flexibility and precision.
Real-World Applications of Sharpening
Sharpening is not just for digital images. It's equally important for print photography, where details can make a significant impact. When preparing images for print, it's crucial to consider the output size and resolution. This ensures that the sharpening applied is suitable for the final product. Understanding how sharpening translates from screen to print can help maintain consistency across different mediums.
Tools for Beginners and Experts
Whether you're new to photography or an experienced editor, there's a range of tools available for sharpening. Beginners might start with basic options like PicMonkey or Canva, which offer intuitive interfaces and preset sharpening filters. For experts, advanced software provides comprehensive controls and the ability to create custom sharpening profiles. Regardless of your skill level, the right tool can enhance your workflow.
Tips for Consistent Results
Achieving consistent sharpening across multiple images requires practice and attention to detail. Start by developing a workflow that includes sharpening as a final step, after all other edits have been applied. This ensures that the sharpening complements the overall image adjustments. Regularly calibrating your monitor and reviewing images in different lighting conditions can also help maintain consistency.
Conclusion
Mastering image sharpening techniques can significantly elevate your photography, making your images stand out in any portfolio. By understanding the fundamentals and experimenting with different methods, you can find the perfect balance between clarity and subtlety. Remember, the goal is to enhance without detracting from the image's natural beauty. With practice, you'll be able to apply these techniques confidently, creating stunning visuals that captivate your audience.


 icons at the top right corner of the subsection.